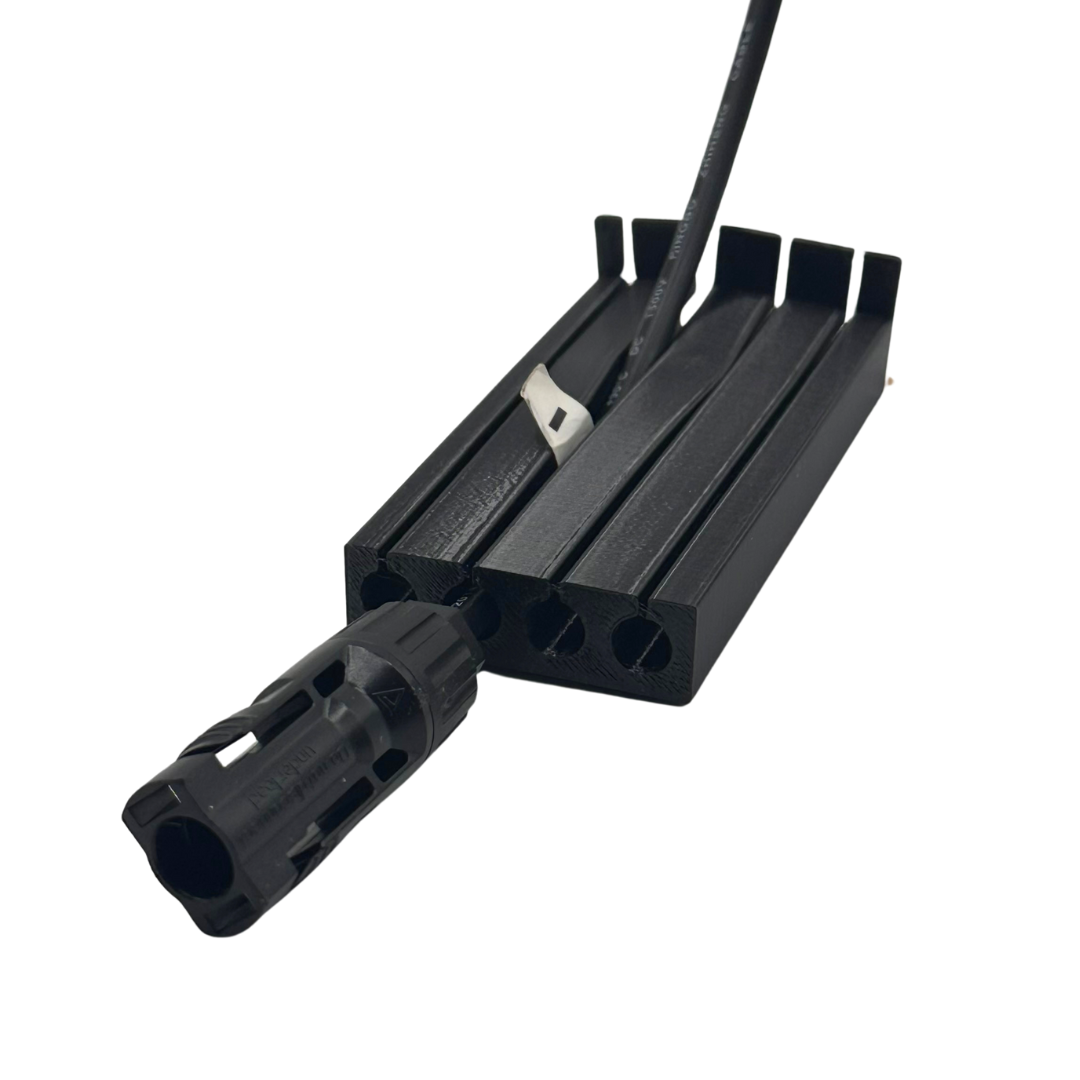
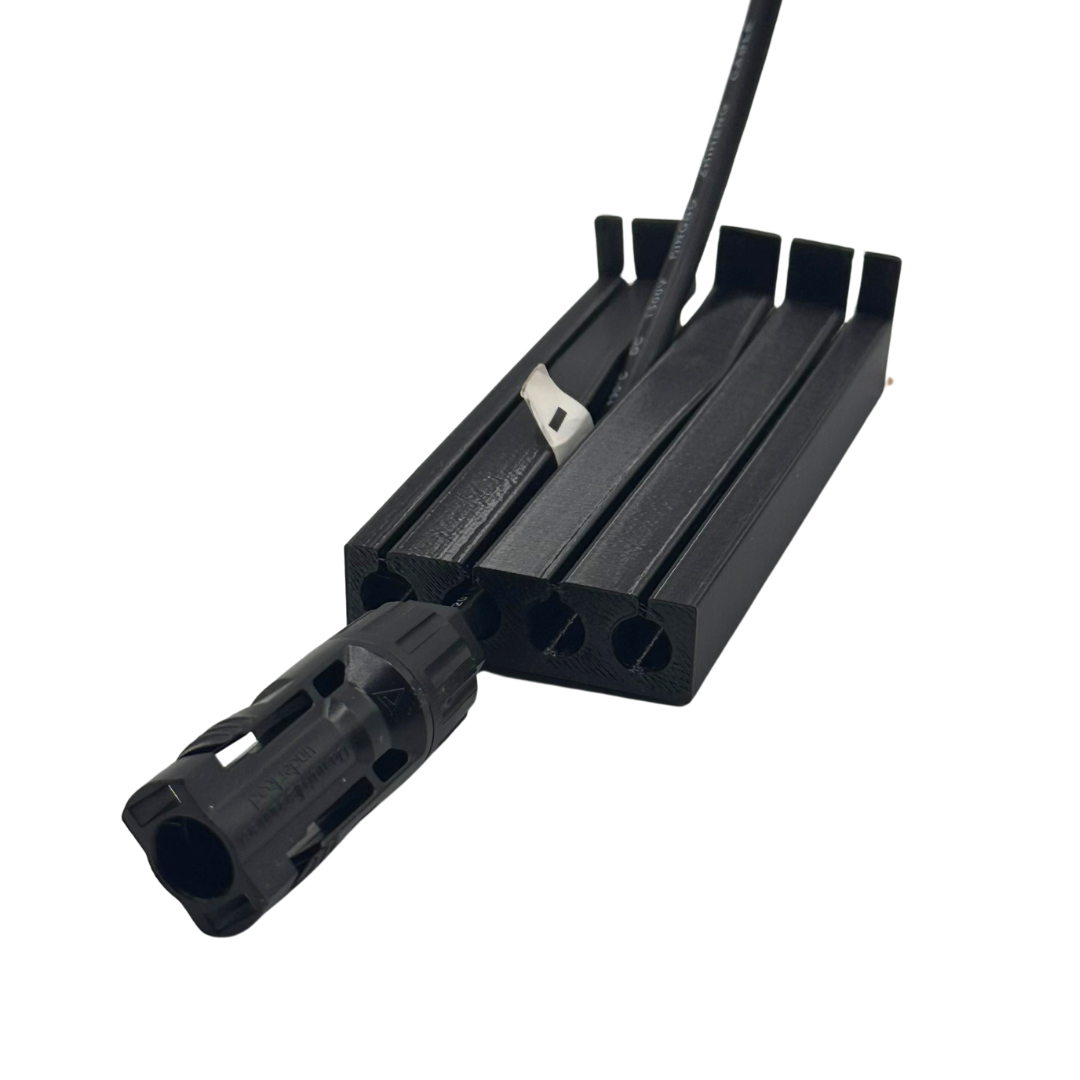
Every PV system on a tiled roof has a critical weak point: the spot where the solar cables are routed from the roof into the building's interior.
Why Roof Penetration is So Crucial
The DC cables of a photovoltaic system must run from the module field on the roof to the inverter inside the building. A sloppy solution leads to water ingress, animal bites, drafts, and fire hazards.
Standards and Regulations
Solar installers should observe DIN 18531/18534 (waterproofing) and VDE 0100-712 (PV power supply). Cables must be laid with mechanical protection.
Step-by-Step Guide
1. Determine position – As close as possible to the inverter's location.
2. Remove tiles – Prepare opening, check battens.
3. Insert cable gland – TPU roof penetrations for solar cables replace individual roof tiles. MC4 connectors do not need to be removed.
4. Thread cables – Insert without tools, observe bending radius.
5. Check for watertightness – Flush with the roof surface, correct tile overlap.
Avoid Typical Mistakes
- Threading cables under the tile – not rainproof
- Silicone sealing – ages under UV, becomes brittle
- Disconnecting MC4 connectors – prone to error, fire hazard
The Smart Solution: NEXCAPE
NEXCAPE cable glands – Made in Germany, from UV-resistant TPU in 3D printing. Available for 2 strings + earthing cable and 4 strings + earthing cable in 105mm, 125mm, and 150mm. Tool-free installation without MC4 removal – from 5 Euros per piece.