Dachsanierung und PV-Anlage: Zwei Projekte, eine Planung
Wenn ein Dach ohnehin saniert wird, bietet sich die perfekte Gelegenheit, eine Photovoltaikanlage gleich mit einzuplanen. Für Solarteure bedeutet das: Die Kabelführung kann von Anfang an sauber integriert werden, statt sie nachträglich durch bestehende Strukturen zu leiten. Das spart Zeit, Material und potenzielle Dichtigkeitsprobleme.
Vorteile der kombinierten Planung
- Kabelwege im Dachaufbau integrieren: Kein nachträgliches Bohren oder Fräsen nötig
- Optimale Position der Durchführungen: Platzierung direkt bei der Neueindeckung festlegen
- Dichtigkeit ab Tag eins: Durchführungen werden mit der neuen Eindeckung verlegt
- Kostenvorteil: Gerüst und Arbeitszeit werden nur einmal benötigt
Planungsschritte für die Kabelführung
1. Anlagenplanung vor der Sanierung
Bevor die alten Ziegel vom Dach kommen, muss die PV-Anlagenplanung stehen. Stringplanung, Wechselrichter-Position und Kabelwege bestimmen, wo die Durchführungen platziert werden.
2. Durchführungspositionen festlegen
Die Dachdurchführung sollte möglichst nah am Übergang zwischen Modulfeld und Dachinnenseite liegen. Kurze Kabelwege auf der Dachoberfläche reduzieren UV-Belastung und Wind-Angriffsfläche der Kabel.
3. Anzahl der Durchführungen berechnen
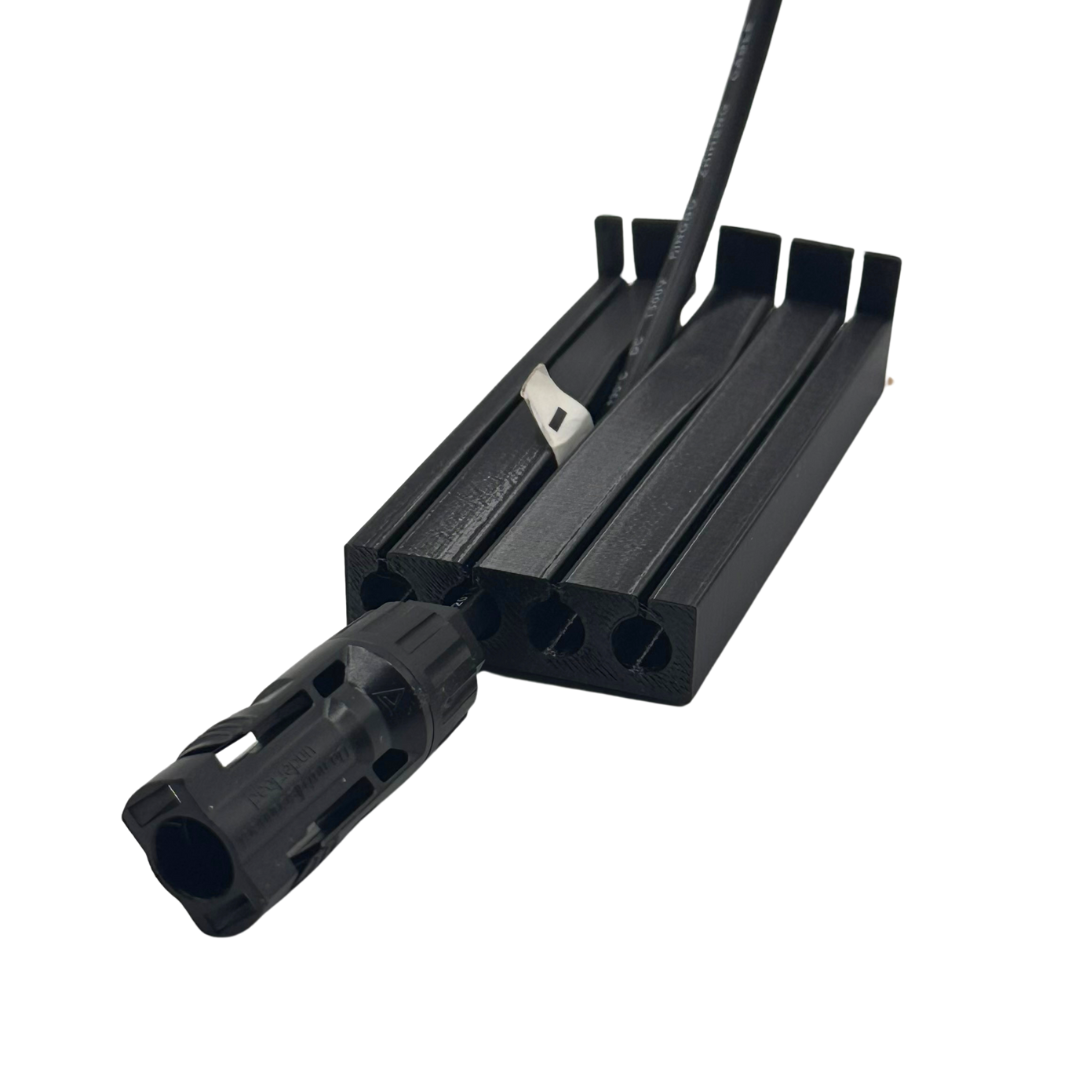
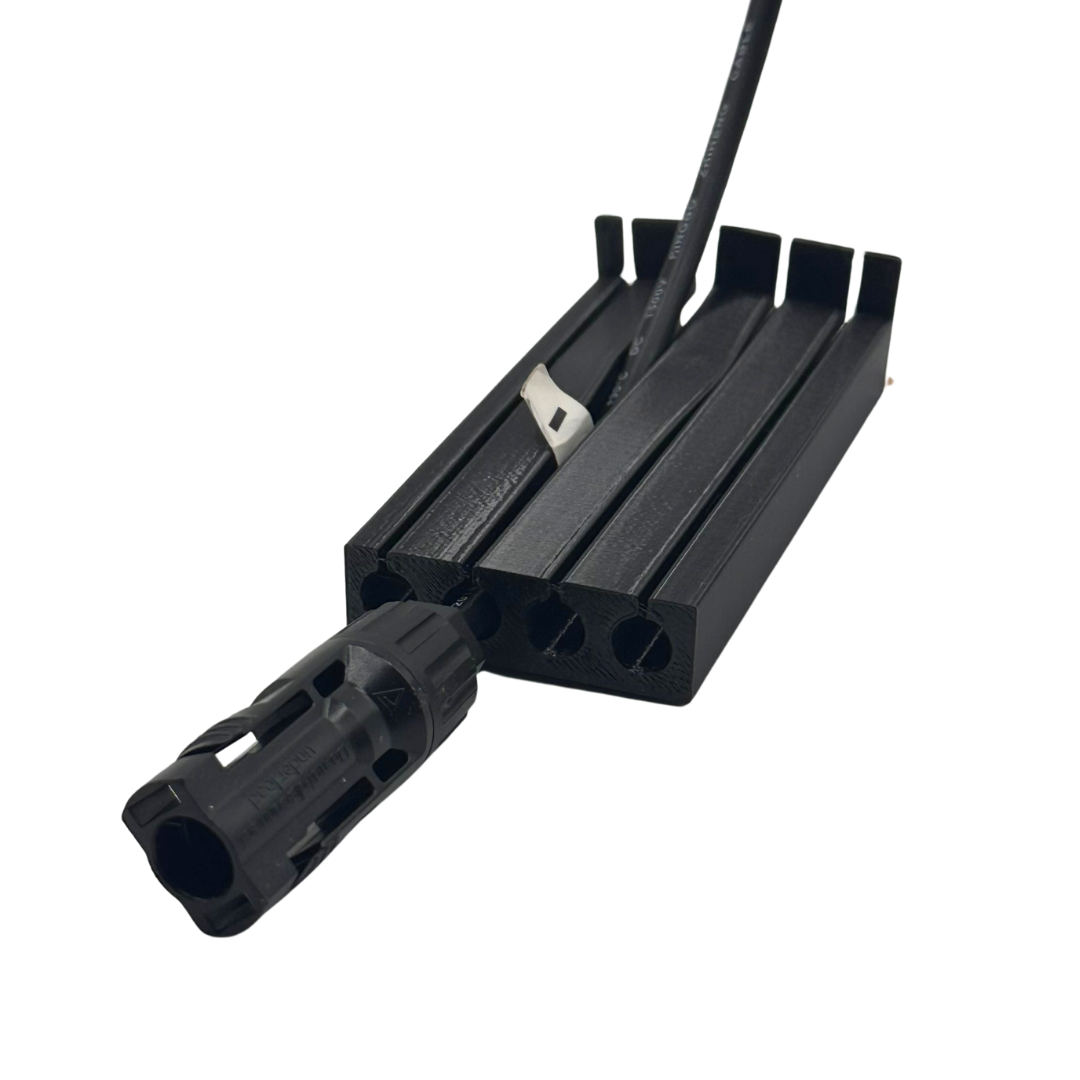
Pro String werden in der Regel zwei PV-Kabel (Plus und Minus) durch das Dach geführt. Dazu kommt bei Bedarf ein Erdungskabel (PE). NEXCAPE Durchführungen gibt es in Varianten für 2, 4 oder 6 PV-Kabel – jeweils auch mit PE-Durchführung.
4. Länge der Durchführung wählen
Die Durchführungslänge richtet sich nach dem Dachaufbau: Lattung, Konterlattung und Unterspannbahn bestimmen den Abstand zwischen Ziegel und Dachinnenseite. NEXCAPE bietet drei Längen: 105 mm, 125 mm und 150 mm.
Montage während der Neueindeckung
Bei einer Sanierung wird die Durchführung direkt beim Verlegen der neuen Ziegel eingesetzt. Das ist deutlich einfacher als eine Nachrüstung, da der Ziegel noch nicht fixiert ist und die Unterkonstruktion frei zugänglich ist.
NEXCAPE Dachdurchführungen aus TPU ermöglichen eine werkzeuglose Montage: Kabel einfach durchschieben – der MC4-Stecker muss nicht ausgebaut werden. Das flexible TPU-Material, gefertigt im 3D-Druck in Deutschland, passt sich an verschiedene Ziegelprofile an.
Häufiger Fehler: Kabelführung als Nachgedanken
Wird die PV-Kabelführung erst nach der Dachsanierung geplant, entstehen unnötige Mehrkosten. Ziegel müssen wieder angehoben, Kabelkanäle nachträglich gebohrt und Abdichtungen improvisiert werden. Besser: Von Anfang an gemeinsam planen.
Dachdurchführungen für Neubau und Sanierung jetzt bestellen: PV-Dachdurchführungen ansehen