Schieferdach und PV-Anlage: Eine besondere Herausforderung
Naturschiefer gehört zu den anspruchsvollsten Dachmaterialien in der PV-Installation. Die Platten sind dünn, spröde und reagieren empfindlich auf mechanischen Druck. Gleichzeitig haben Schiefer-Kanten eine hohe Abrasivität — schärfer als viele Ziegelformate. Für die Kabelführung bedeutet das: Höchste Sorgfalt bei der Planung und die richtigen Komponenten.
Dieser Artikel richtet sich an Elektrobetriebe und Dachdecker, die regelmäßig mit Schieferdächern arbeiten und eine sichere, dauerhaft geschützte Kabeleinführung realisieren wollen.
Eigenschaften von Naturschiefer, die die Kabelführung beeinflussen
Wer die Besonderheiten von Schiefer kennt, macht weniger Fehler:
- Scharfe Schnittkanten: Beim Bohren oder Schneiden entsteht eine messerscharfe Kante. Kabel ohne Schutz, die über diese Kante geführt werden, beschädigen sich schnell.
- Dünne Plattendicke: Schieferplatten sind typisch 4–6 mm dünn. Das schränkt die Befestigungsmöglichkeiten für Durchführungskomponenten stark ein.
- Keine Standardmaße: Im Gegensatz zu Betonziegel oder Tondachziegeln gibt es bei Schiefer keine einheitlichen Formate. Maße und Überlappungen variieren je nach Region und Verlegetechnik.
- Frostempfindlichkeit: Feuchtigkeitseintrag in Risse kann durch Frost zu Abplatzungen führen. Dichtheit der Kabeldurchführung ist daher besonders wichtig.
Schritt-für-Schritt: Kabel sicher durch das Schieferdach führen
Schritt 1: Durchführungspunkt sorgfältig auswählen
Der Durchführungspunkt sollte möglichst nah am Wechselrichter liegen, um Kabellänge zu minimieren. Wichtig: Die Platte, durch die gebohrt wird, sollte möglichst mittig perforiert werden — nicht an der Kante, da dort die Platte am ehesten bricht. Idealerweise wird eine Stelle gewählt, die unter einer Überdeckung liegt, um den Wasserein- und -austritt zu minimieren.
Schritt 2: Bohren mit der richtigen Technik
Für Naturschiefer eignen sich Diamantbohrer oder spezielle Steinsteinbohrer. Schlagbohrung ist ungeeignet — sie erzeugt zu viel Vibration und bricht die Platte. Bohren Sie langsam, mit minimalem Anpressdruck und Kühlung durch Wasser oder Schneidöl. Loch auf Kabeldurchmesser plus Durchführungsdurchmesser ausrichten.
Schritt 3: Kante schützen
Die Bohrlochkante ist die kritische Stelle. Auch wenn die Dachdurchführung das Kabel weitgehend schützt, sollte die Kante an der Innenseite sauber gebrochen oder mit einem Kantenschutzring versehen werden. Scharfe Grate können selbst bei TPU-Schutzmänteln über Jahre hinweg Schäden verursachen.
Schritt 4: Dachdurchführung einsetzen und abdichten
Die Dachdurchführung wird von oben in die Bohrung eingesetzt. Bei Schieferdächern ist eine formschlüssige Dichtung besonders wichtig — Schieferplatten sind nicht plan wie Betonziegel. Dichtmasse oder eine flexible Manschette sorgt dafür, dass kein Wasser entlang des Schafts eindringt. Das Kabel wird anschließend mit Schutzmanschette eingezogen.
Schritt 5: Zugentlastung und Abschluss
Auf der Dachinnenseite sollte das Kabel direkt nach der Durchführung zugentlastet werden. Spannungen, die durch Windbewegung oder Eigengewicht entstehen, werden sonst an die Durchführung und die Schieferplatte weitergegeben — mit dem Risiko, dass die Platte über Zeit lockert oder bricht.
Materialwahl: Worauf es beim Schieferdach besonders ankommt
Bei Schiefer gelten die gleichen Grundanforderungen wie bei anderen Dachmaterialien — aber mit höherem Gewicht auf mechanische Robustheit und Abriebfestigkeit:
- TPU-Kabelschutz: Schieferkanten sind abrasiver als Tonziegel. TPU hält dem mechanischen Verschleiß zuverlässig stand, bleibt flexibel und wird durch die UV-Belastung nicht spröde.
- Flexible Dichtung: Starre Dichtungen funktionieren nur auf planen Untergründen. Für Schiefer sind flexible Materialkombinationen aus Silikon oder EPDM geeigneter.
- Korrosionsfreie Befestigung: Metallanteile in der Durchführung müssen rostfrei sein — Schieferdächer sind oft auf Holzschalung verlegt, die bei Feuchtigkeitseintrag Schäden verstärkt.
Typische Fehler und wie man sie vermeidet
- Plattenrand bohren: Führt fast immer zum Bruch der Platte. Immer mittig bohren.
- Schlagbohrung: Zerstört die Platte durch Vibration. Nur Kernbohrung verwenden.
- Kein Kantenschutz: Scharfe Bohrlochkante beschädigt das Kabel über Zeit. Kante immer brechen oder schützen.
- Fehlende Zugentlastung: Spannungen auf der Platte beschleunigen Rissbildung. Immer innen sichern.
Fazit
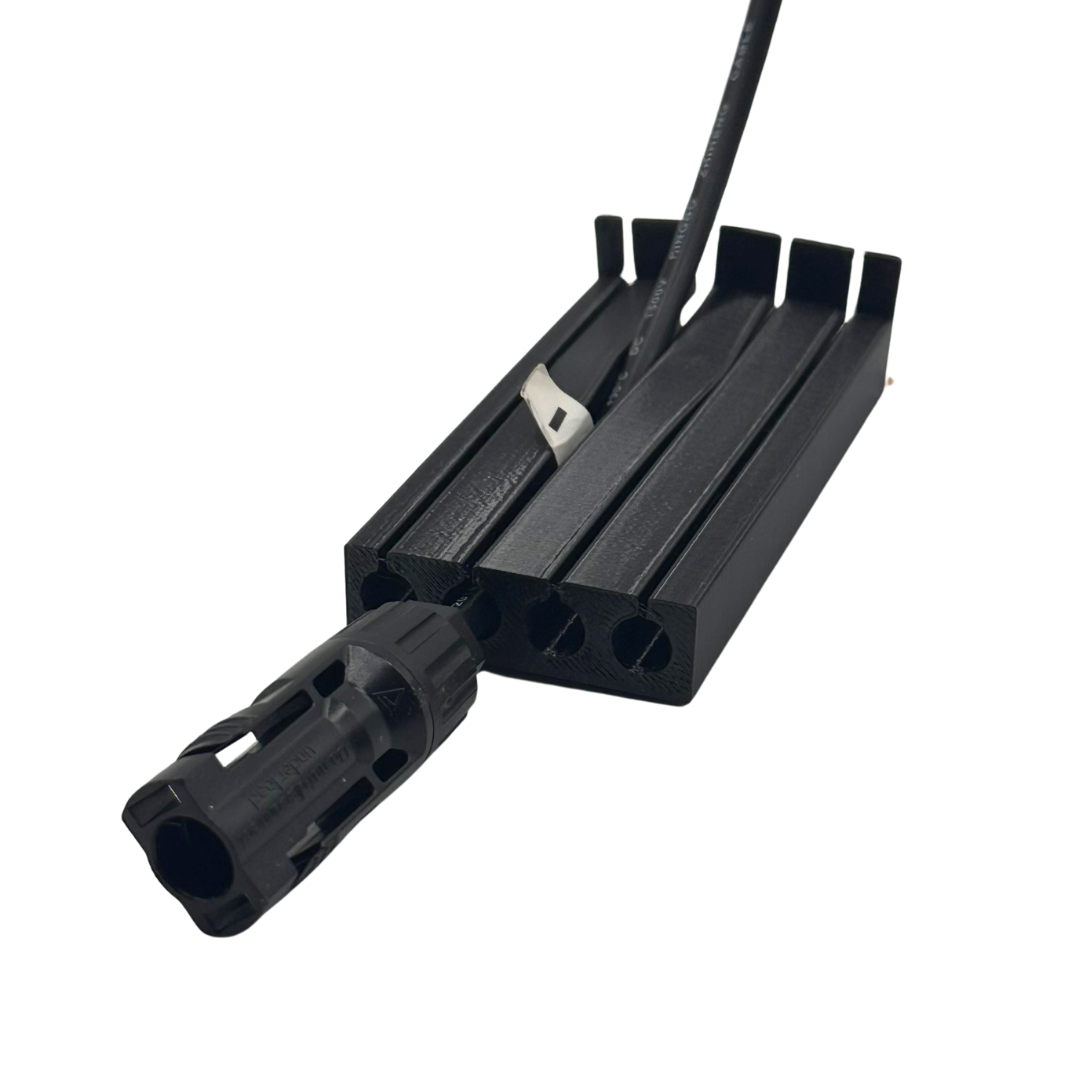
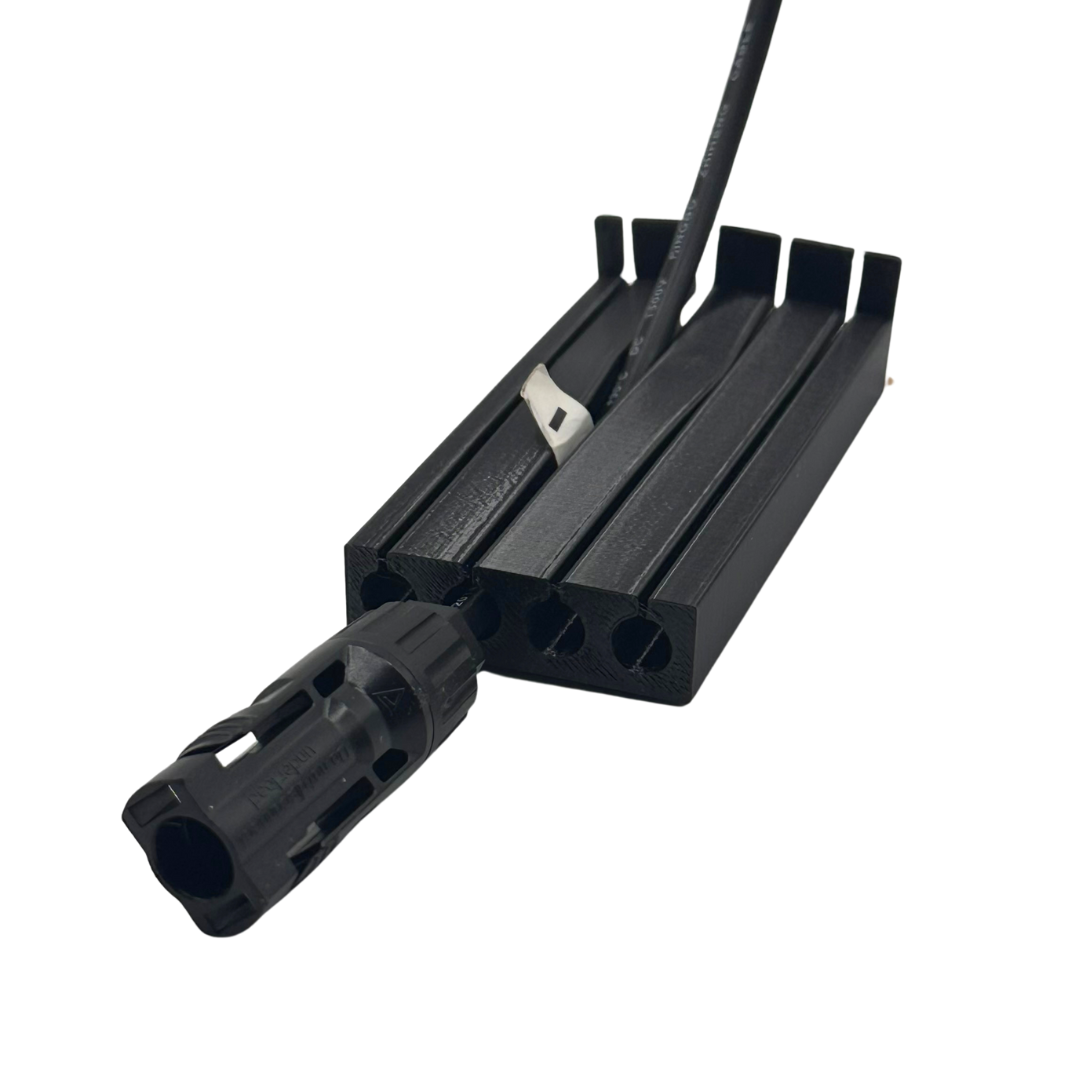
Die Kabelführung durch ein Schieferdach erfordert mehr Vorbereitung als bei Standardziegeln — ist aber mit der richtigen Technik und den passenden Komponenten sicher und dauerhaft zu realisieren. Entscheidend sind die Bohrtechnik, der Kantenschutz und eine Dachdurchführung mit abriebfestem TPU-Kabelschutz, die speziell für anspruchsvolle Dachmaterialien ausgelegt ist.
Dachdurchführung24 bietet Kabeldurchführungen mit integriertem Abriebschutz im B2B-Großhandel — ab 20 Stück mit Mengenrabatt.
Die passenden PV-Kabel-Dachdurchführungen als mechanischen Abriebschutz finden Sie im D24-B2B-Shop (Mengenstaffel ab 20 Stück) – UV-beständiges TPU, Made in Germany.